Introduction Materials and Tools Assembly Preparations Triangle Sequence First and Second Row Assembly Upper Triangle Assembly Advanced Tips FAQ Conclusion Introduction The assembly of the hemisphere in a geodesic dome is the phase where geometry comes to life: pre-assembled triangles join together to form the iconic semi-spherical shape. This process requires organization, precision, and teamwork…
July 20, 20253 min
Introduction
The assembly of the hemisphere in a geodesic dome is the phase where geometry comes to life: pre-assembled triangles join together to form the iconic semi-spherical shape. This process requires organization, precision, and teamwork to ensure a sturdy and long-lasting dome.
Did you know? A 6m V3 dome covers approximately 28 m² with just 105 interconnected triangles.
Materials and Tools
Specifications
Screws
2 x 6 wood screws and bolts
Adhesive
Optional: high-strength carpenter’s glue
Platform
18mm phenolic floor, 11 units
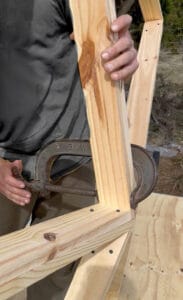
2 Cordless drills
(Bosch GSR 1000 SMART 12V and Milwaukee M12).
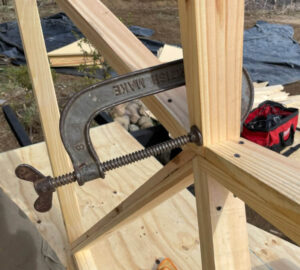
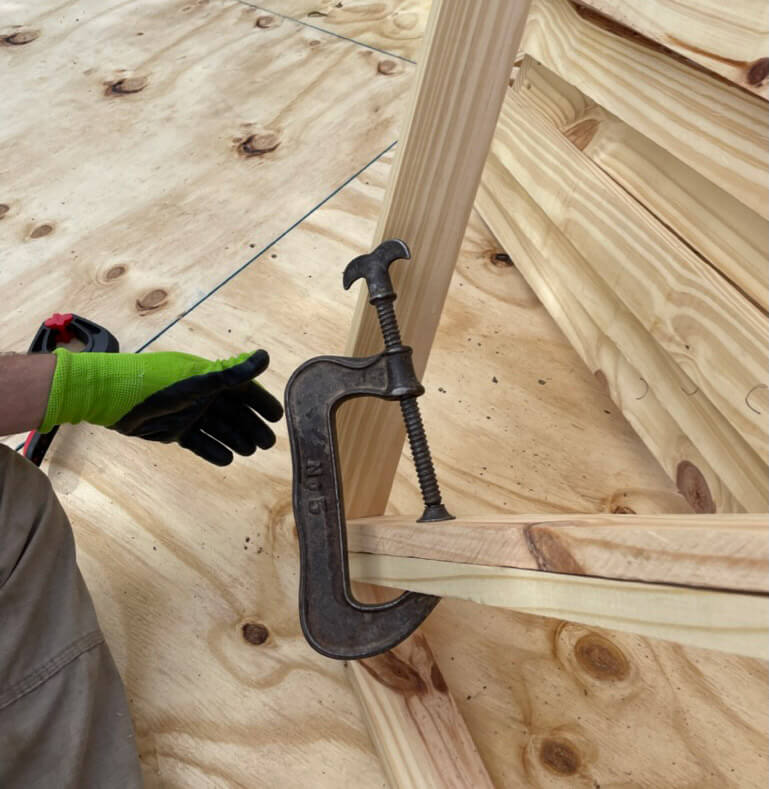
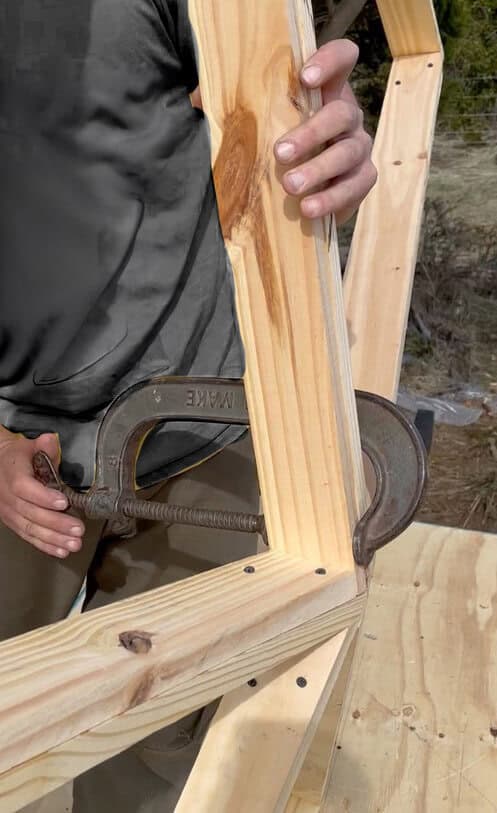
Clamps
To hold triangles together during assembly.
Accessories
Gloves, tool belt, and pencils/markers.
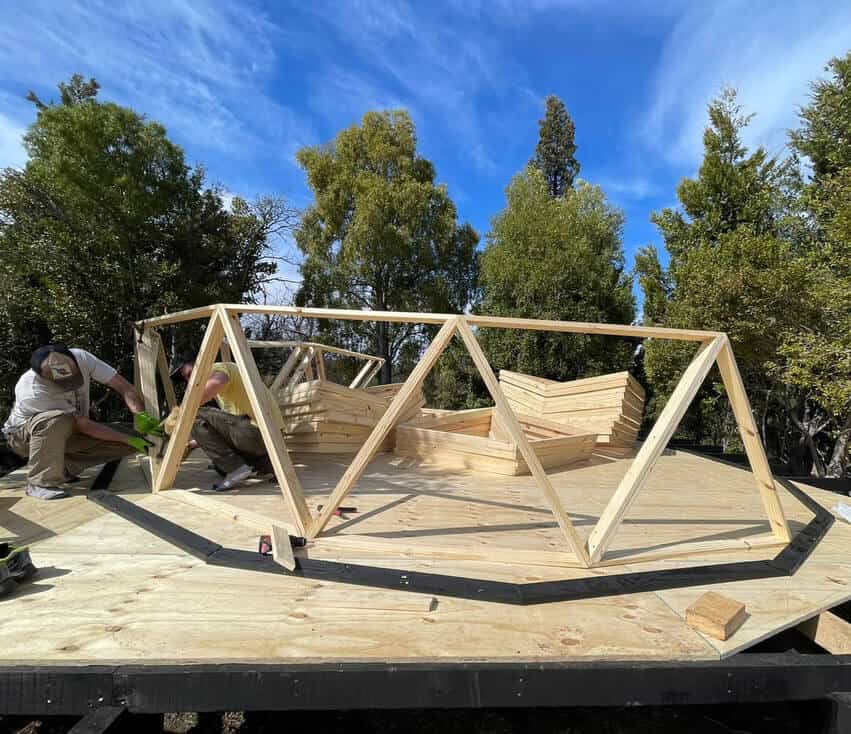
1. Structural Assembly Preparations
Check the level of the perimeter base and phenolic/OSB platform, ensuring a perfectly flat surface.
Sort and stack triangles by letter (A, B, C…) following the Acidome diagram.
Gather all triangles and auxiliary pieces at the center of the platform to keep the work perimeter clear.
Keep tools (drills, clamps, squares) and screws within reach to minimize movement during assembly.
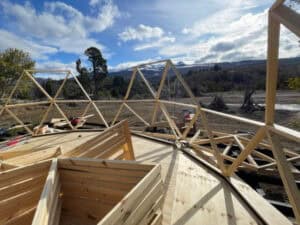
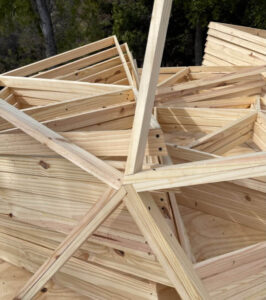
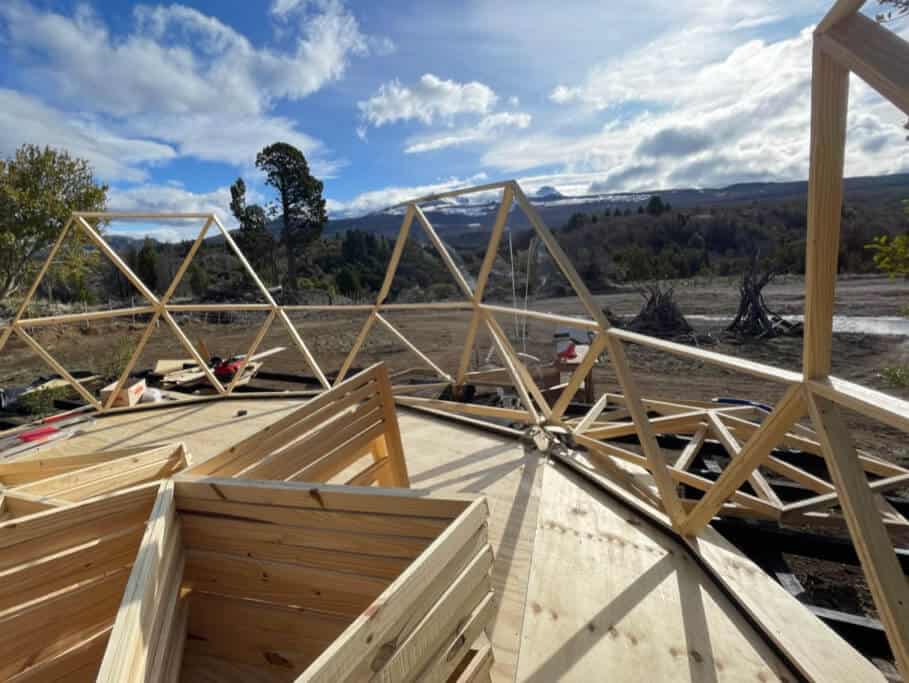
2. Triangle Sequence
Assembly order is critical: a single misplaced triangle can misalign the entire structure. For a V3 dome:
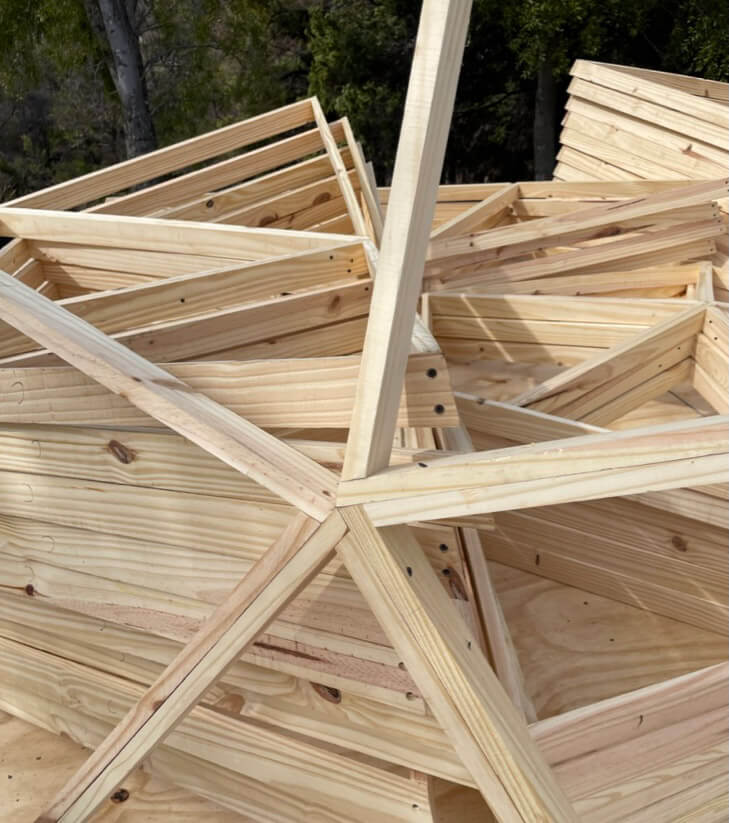
Pentagons — pre-assembled in halves.
Hexagons — pre-assembled in halves.
Dome top — fully assembled.
All hexagon and pentagon halves were prepared —except the dome top— to streamline assembly and maintain symmetry without complications.
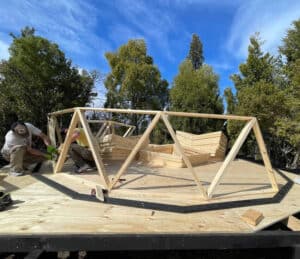
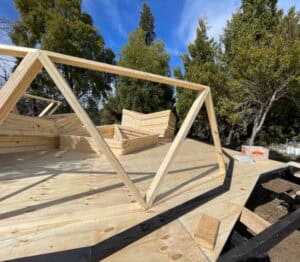
3. First and Second Row Assembly
Place half a pentagon on the base and secure it with bolts every 50 cm (varies by dome size).
Use clamps to hold each joint while screwing.
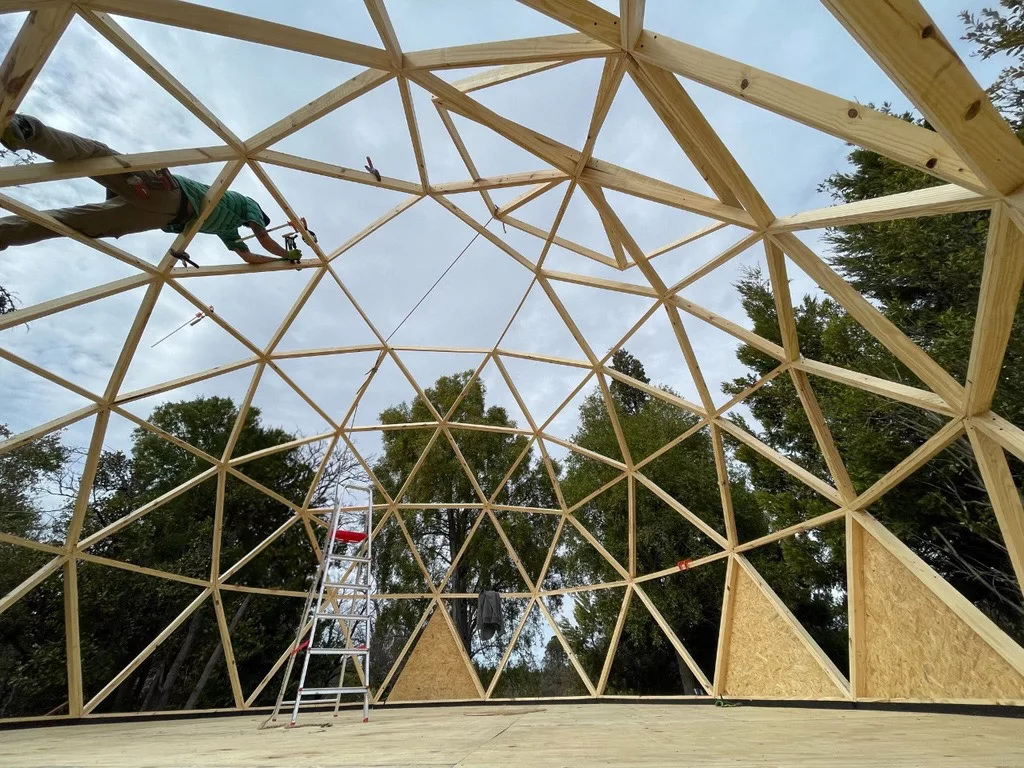
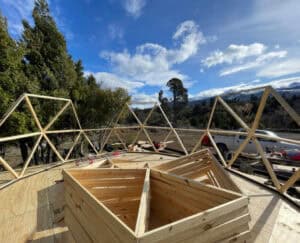
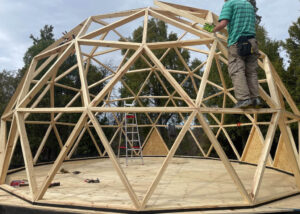
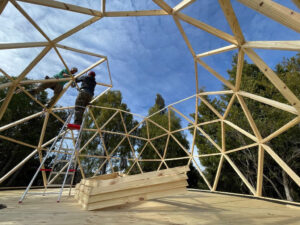
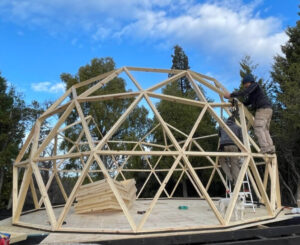
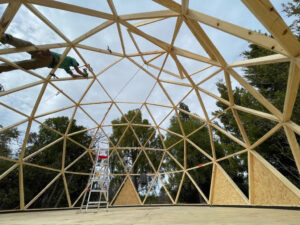
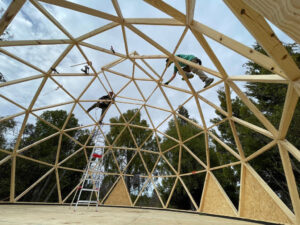
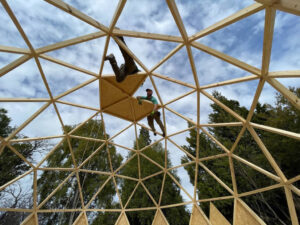
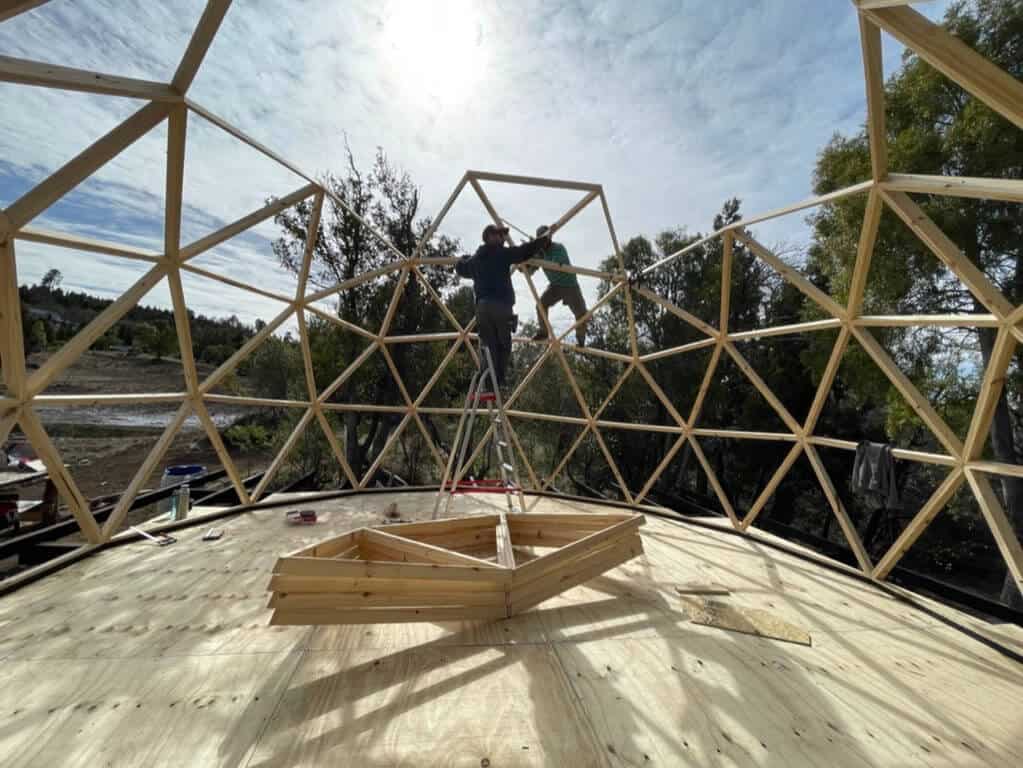
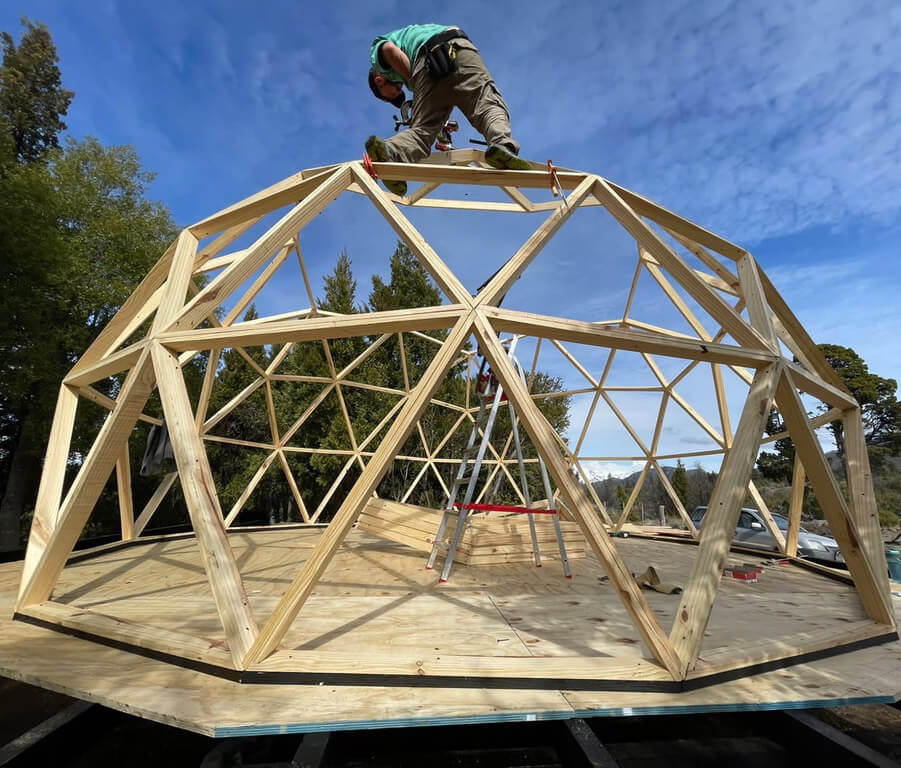
4. Upper Triangle Assembly
With the first two rows secured, proceed with upper rows:
Use ladders.
Secure with screws before releasing clamps.
Repeat until the hemisphere is complete.
5. Advanced Tips
🔩 Pre-drilling in the workshop prevents splintering.
📐 Deviation checks with a measuring tape after each row.
💨 Weather backup: Keep tarps ready for rain/wind protection.
🔗 Anchor points: Reserve 4 extra screws for temporary stabilization.
FAQ
Why assemble the base row first?
The base row establishes the circumference and reference level for the entire structure.
How many people are needed?
At least 3 people: to hold, fasten, and supply pieces.
How to protect wood during assembly?
Cover triangle stacks with plastic and apply asphalt primer to the base.
Conclusion
A geodesic dome is a true challenge for those who dream of building their own home with their hands. It requires patience, coordination, and passion, but each triangle you fit brings you closer to that unique, resilient dwelling. With every tightened screw and secured joint, you’re not just building a structure—you’re developing skills and creating something one-of-a-kind. Now is the time to turn your project into reality!


